Cleaning your bathroom floor doesn’t have to be a chore, and with the right steps, it can be done in no time! Whether you have tiles, vinyl, or another type of flooring, keeping it spotless is essential for a fresh and hygienic bathroom. In this guide, we’ll walk you through a simple, step-by-step process to make your bathroom floor shine. And if you prefer professional help, Evolution DR Cleaning is always here to provide expert cleaning services that take the hassle out of bathroom maintenance. Let’s dive into the best practices for a clean, sparkling bathroom floor!
Why Clean Your Bathroom Floor?
Cleaning your bathroom floor is essential for maintaining hygiene and a fresh appearance. Floors in bathrooms collect dirt, moisture, and bacteria, making regular cleaning crucial to prevent mold and unpleasant odors. A clean floor enhances the overall look of your bathroom, making it feel more inviting. For a deeper clean, professional deep cleaning services can help tackle stubborn stains, grout, and hard-to-reach areas, ensuring a spotless and sanitary bathroom environment with minimal effort on your part.
Before we get into the cleaning process, let’s talk about why keeping your bathroom floor clean is so important. Bathroom floors collect dust, dirt, and grime on a daily basis. With the added moisture from showers, baths, and sinks, floors can become a breeding ground for bacteria and mildew if not cleaned regularly. A clean floor doesn’t just improve the appearance of your bathroom; it also promotes a healthier environment for you and your family.
Step 1: Sweep or Vacuum the Floor
Before you bring out the mop, you’ll want to make sure there’s no dust, dirt, or debris on the floor. Sweeping is the most basic way to clean up the surface level mess. If your bathroom has a lot of hair or fine dust, a vacuum cleaner might be a better choice.
Start in one corner of the bathroom and sweep or vacuum toward the door to avoid stepping on the freshly cleaned floor.
Be sure to get along the edges, corners, and any other hard-to-reach places where dirt can accumulate.
Taking this extra step ensures that when you mop the floor, you won’t just be pushing dirt around.
Step 2: Choose the Right Cleaner
Choosing the right cleaner is key to effectively maintaining your bathroom. For tiles, use a tile-specific cleaner; for vinyl or laminate, opt for mild, non-abrasive solutions. Essential supplies for a spotless bathroom include an all-purpose cleaner, toilet cleaner, disinfectant wipes, a mop, scrub brush, microfiber cloths, gloves, and a vacuum or broom. These tools help tackle various surfaces and areas, ensuring that your bathroom remains clean, fresh, and hygienic after every use.
The next step in the process is selecting a cleaner that’s appropriate for your bathroom floor. Different types of floors require different cleaning products. Here’s a breakdown:
Tile Floors (Ceramic, Porcelain, or Stone): Tile floors are relatively easy to clean, but they can have grout lines that trap dirt. A general all-purpose cleaner will do the trick, but you might need a specific grout cleaner for the lines. If you’re using a commercial cleaner, make sure it’s safe for tiles.
Vinyl Floors: Vinyl floors are usually low-maintenance, but you should avoid harsh chemicals. A mild dish soap solution in warm water works great for vinyl floors.
Laminate Floors: Similar to vinyl, laminate floors can be cleaned with a mild cleaning solution. Avoid soaking the floor with water since laminate can be sensitive to moisture.
Wood Floors: Wood floors should be cleaned with a wood-safe cleaner. It’s important to avoid water from pooling on the floor, so use a slightly damp mop instead of soaking the floor.
If you don’t want to deal with choosing the right product, services like Evolution DR Cleaning can ensure your bathroom floors are cleaned with the appropriate products, especially if you have specific types of flooring.
Step 3: Mix Your Cleaning Solution
Once you’ve selected the right cleaner for your floor, it’s time to mix your cleaning solution. If you’re using a store-bought cleaner, follow the instructions on the label for the correct amount to mix with water.
For a DIY cleaner, you can create an effective solution by mixing:
1 cup of white vinegar
1 cup of warm water
A few drops of dish soap (optional)
This solution works well for tile, vinyl, and laminate floors, but if you’re working with wood, stick to a wood cleaner that’s specifically designed for hardwood.
Step 4: Start Mopping
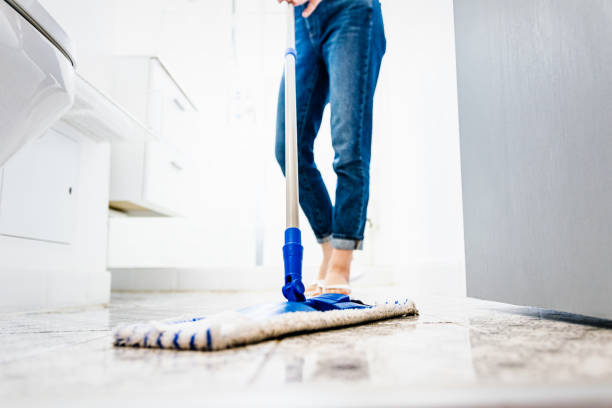
Now that your cleaning solution is ready, it’s time to start mopping the floor. Here’s how to do it efficiently:
Dip the Mop in the Cleaning Solution: Soak your mop in the solution, and make sure it’s not too wet. Too much water can damage certain floors, especially wood.
Mop in Small Sections: Start mopping at one corner of the room and work your way toward the exit to avoid stepping on the freshly cleaned floor.
Use a Figure-Eight Motion: To clean the floor, use a figure-eight or an “S” motion to prevent pushing dirt around. This will help get into the grooves and corners more effectively.
Rinse the Mop Frequently: After a few strokes, rinse the mop and wring it out. This ensures you aren’t just spreading dirt around.
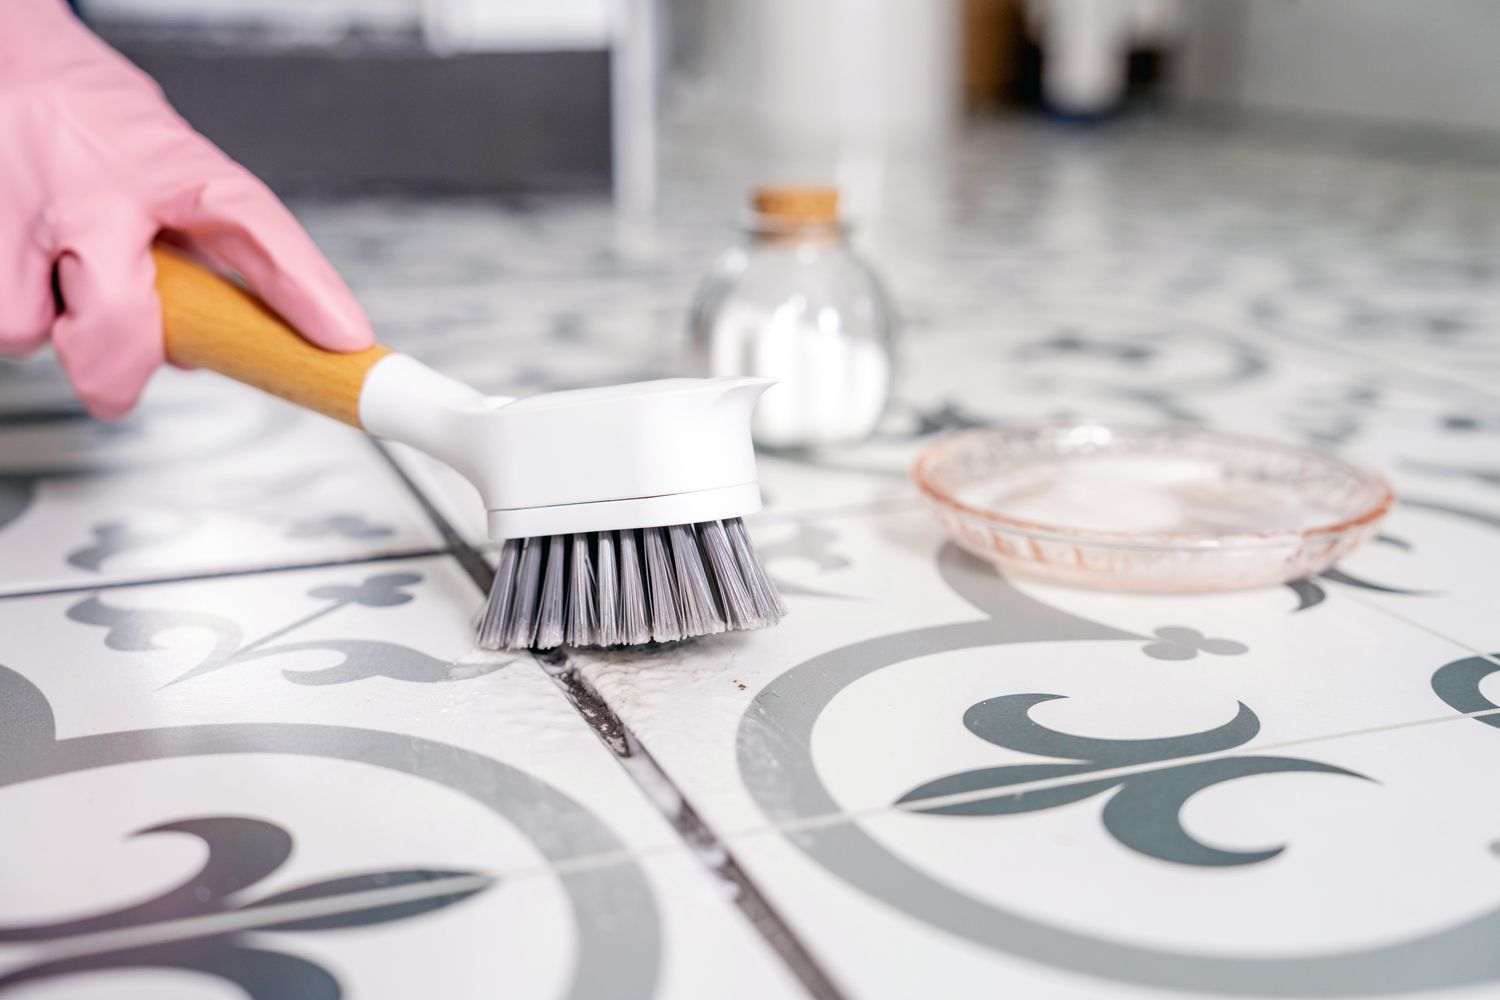
For tile floors, you may want to use a scrub brush to get into the grout lines. A little extra effort will pay off in making the whole floor look fresh and spotless.
Step 5: Pay Attention to Stubborn Stains
Stubborn stains, such as soap scum or hard water deposits, can be tough to remove but can be tackled with the right products like a specialized grout cleaner or a vinegar solution. Scrubbing with a brush helps loosen these stains from surfaces. If you’re struggling with tough stains or prefer a more thorough cleaning, professional bathroom cleaning services can offer deep cleaning solutions. These experts use specialized tools and cleaners to remove persistent stains and restore your bathroom to its spotless best.
If your bathroom floor has any tough stains or buildup, you’ll need to tackle them with a little extra effort. Here’s how:
For tile grout stains: Use a specialized grout cleaner or make a paste with baking soda and water. Apply the paste to the grout, let it sit for about 10 minutes, and then scrub with a brush.
For stubborn dirt on vinyl or laminate floors: A mixture of baking soda and water can work wonders. Apply the paste to the stain, let it sit, and then scrub gently.
If the stains are still stubborn after trying these methods, consider calling in professionals like Evolution DR Cleaning, who have specialized tools and cleaning solutions for tough bathroom stains.
Step 6: Rinse the Floor
After you’ve mopped and cleaned up any tough spots, it’s time to rinse the floor. This step is especially important for floors that have cleaner residue. The goal is to remove any leftover cleaning solution to avoid leaving streaks or a sticky film.
Use clean water to rinse the floor.
Mop again with just water to remove the excess soap or cleaner.
You can also use a microfiber cloth to wipe away any leftover residue, giving the floor a streak-free shine.
Step 7: Dry the Floor
Drying the floor after cleaning is crucial to prevent water spots and damage, especially on wood and laminate floors. Use a microfiber cloth or towel to quickly absorb excess moisture, leaving the floor streak-free. For convenience, house cleaning services can handle this task along with the entire bathroom or home, ensuring thorough cleaning and drying. Hiring professionals can save you time and effort, leaving your floors sparkling clean and your home looking its best without any hassle.
Now that your bathroom floor is clean and rinsed, it’s time to dry it. This step is particularly important for wood and laminate floors, as standing water can damage them. Here’s how you can do it:
Microfiber Cloths: Use a clean, dry microfiber cloth to wipe down the floor. This helps absorb any remaining water, leaving the floor dry and streak-free.
Allow to Air Dry: If you don’t want to wipe the floor, you can simply let it air dry. Open a window or turn on the fan to speed up the drying process.
For tile and vinyl floors, drying isn’t as critical, but it’s always nice to give them a quick dry to avoid water spots.
Step 8: Maintain a Clean Bathroom Floor
Keeping your bathroom floor clean is a continuous process. While deep cleaning is essential, regular maintenance can make things easier in the long run.
Sweep or Vacuum Regularly: Dust and dirt can accumulate quickly in a bathroom. Sweeping or vacuuming the floor a few times a week will keep it looking fresh.
Spot Clean Spills Immediately: If you spill something, especially on vinyl or wood floors, clean it up right away to prevent staining or damage.
Use a Bath Mat: Placing a bath mat in front of the shower or sink can help catch water and dirt before it hits the floor.
If you prefer to leave the maintenance to the pros, Evolution DR Cleaning offers ongoing cleaning services that can ensure your floors stay sparkling clean with minimal effort on your part.
FAQs
What is the procedure of cleaning the bathroom floor?
To clean a bathroom floor, start by sweeping or vacuuming to remove dust and debris. Next, mop the floor using a suitable cleaner for your floor type, making sure to clean in small sections. Finally, rinse the floor to remove any cleaner residue and dry it with a microfiber cloth or towel to avoid streaks or water spots.
How to clean the bathroom step by step?
Start by clearing the bathroom of any items and wiping down surfaces with a cleaning solution to remove dust and grime. Next, clean the toilet, sink, and shower or tub, using specialized cleaners for each surface, and scrub as needed. Finish by sweeping or vacuuming the floor, mopping it with a suitable cleaner, and drying the floor to leave everything fresh and spotless.
What are the 5 steps in cleaning the floor?
The five steps in cleaning the floor are: first, sweep or vacuum to remove dust and debris. Second, mix an appropriate cleaning solution for your floor type and mop in small sections. Finally, rinse the floor to remove residue, then dry it using a microfiber cloth or towel to prevent streaks and water spots.
What are the 10 steps in cleaning the toilet bowl?
To clean the toilet bowl, start by applying a toilet cleaner inside the bowl and letting it sit for a few minutes. Scrub the bowl with a toilet brush, focusing on stains, the waterline, and under the rim. After scrubbing, flush the toilet to rinse, wipe down the outer toilet surfaces with a disinfecting cloth, and finish by washing your hands thoroughly.
What are the 7 steps for cleaning toilets?
To clean a toilet, start by putting on gloves and applying a toilet cleaner inside the bowl, letting it sit for a few minutes. Scrub the bowl with a toilet brush, focusing on stains and under the rim, then flush to rinse. Next, wipe down the outer surfaces, including the handle and seat, with a disinfectant, and finish by washing your hands thoroughly.
Conclusion
Cleaning your bathroom floor doesn’t have to be a daunting task. By following these simple steps and using the right cleaning products, you can keep your bathroom looking fresh and hygienic. Whether you prefer to tackle the job yourself or call in the professionals like Evolution DR Cleaning for a thorough cleaning, the result will be a bathroom floor that shines and stays clean for longer.
So, grab your cleaning supplies, roll up your sleeves, and get started on a bathroom floor that you’ll be proud of!
