Bathroom renovations can be an exciting transformation, but they also bring dust, debris, and grime that can quickly accumulate. Keeping your bathroom clean during the renovation process is essential to ensure that the workspace remains functional, safe, and aesthetically pleasing. In this blog post, Evolution DR Cleaning helps cover various aspects of cleaning a bathroom during a renovation, from preparation to final touches, helping you maintain cleanliness while the project is underway.
Preparation: Clearing the Space Before Renovation
Before the actual renovation begins, it’s crucial to clear out the bathroom of all personal items, toiletries, and linens. Remove towels, shower curtains, soap dishes, toothbrushes, and any other items that might become dusty or dirty. If possible, take down mirrors, wall art, and shelving units that could be damaged or covered in dust. By clearing the space, you’ll make it easier to maintain a clean working environment during the renovation process.
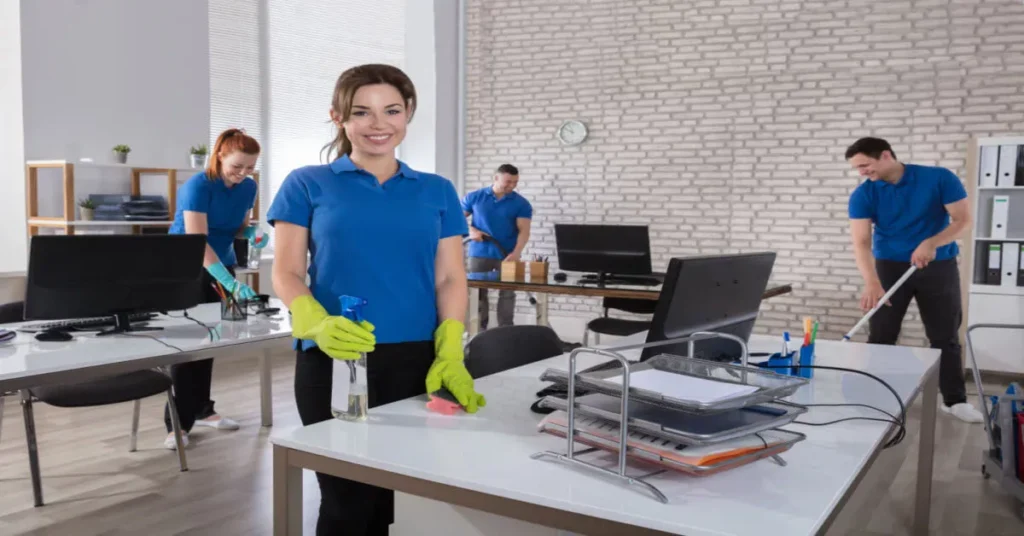
Before starting a renovation, it’s crucial to clear the space thoroughly. This involves removing all furniture, decor, and any items that may obstruct the renovation work. Ensure the area is clean and free from dust and debris, which can affect the quality of the renovation. Engaging a bathroom cleaning service can help ensure the space is spotless, creating a clean and safe environment for contractors to work efficiently and effectively.
Dust Control: Managing Dust Buildup During Demolition
During a renovation, dust is one of the primary culprits when it comes to mess. Demolition work like tearing out tiles, removing old fixtures, or breaking down walls can generate large amounts of dust, which can settle on every surface in your bathroom. To minimize dust buildup, make use of dust barriers like plastic sheeting or temporary walls. Sealing off doorways and vents can prevent dust from escaping into other areas of your home.
Additionally, vacuum frequently using a vacuum cleaner equipped with a HEPA filter to capture fine dust particles. Sweeping is often not enough, as it can stir up dust into the air, making it harder to control. A damp cloth or mop can also be used to wipe down surfaces and floors, helping to trap the dust before it spreads further.
Daily Cleaning Routine: Staying on Top of the Mess
Cleaning during a renovation should be a daily task. Dust and dirt accumulate quickly, and leaving it for too long can make the cleaning process more daunting. At the end of each workday, make a habit of wiping down surfaces, cleaning floors, and removing debris. Use a damp microfiber cloth to clean countertops, windowsills, and other surfaces that are prone to collecting dust. If possible, sweep or vacuum the floors to pick up any loose dirt or building materials.
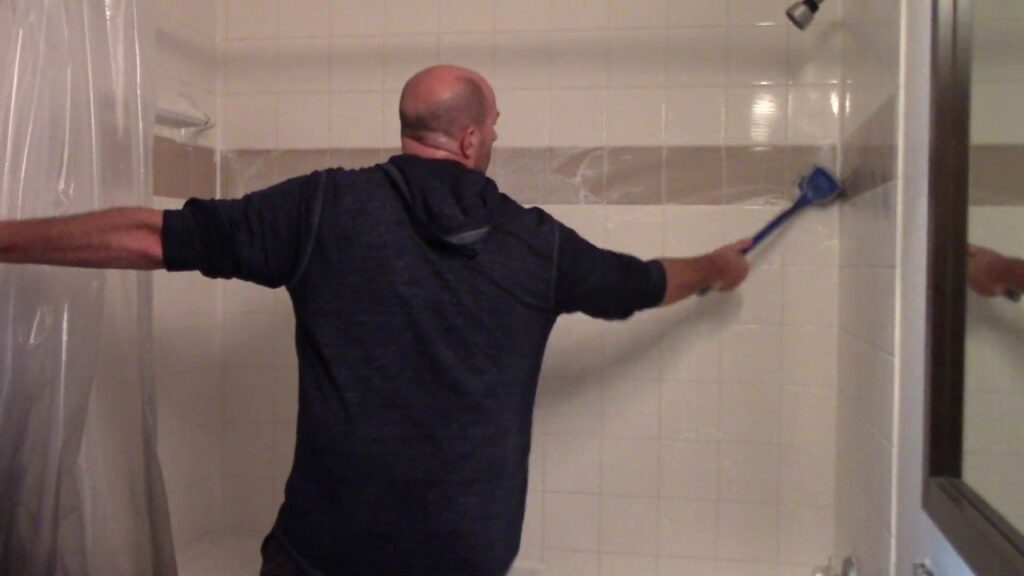
Managing Grout Dust and Tile Adhesive Residue
Grout dust and tile adhesive residue are common byproducts of bathroom renovation, especially when installing new tiles or regrouting. Grout dust can be particularly challenging to clean, as it can cling to surfaces and harden over time. To clean grout dust effectively, start by using a dry cloth or vacuum to remove loose dust particles. Once the area is free from excess dust, use a damp sponge or cloth to wipe down the tiles and grout lines.
Managing grout dust and tile adhesive residue is crucial for a clean and professional finish. After grouting, let the grout set and cure as recommended before cleaning. Use a dry, soft brush to sweep away dust, followed by a damp cloth to remove any adhesive residue. For stubborn spots, a mild grout cleaner can help, but avoid excessive moisture. In humid Jacksonville weather, cleaning bathroom grout becomes even more important as excess moisture can lead to mold and mildew growth. Properly managing dust and residue ensures that grout cleaning remains effective and your bathroom stays fresh and hygienic.
Protecting Plumbing Fixtures During Renovation
During the renovation, your plumbing fixtures, such as faucets, sinks, and showerheads, can be exposed to dust, debris, and splashes of paint or grout. To prevent damage, take the time to clean these fixtures regularly. Use a soft cloth to wipe down fixtures daily, removing any dust or debris that has settled on them. Avoid using harsh chemicals or abrasive sponges, as these can scratch or damage the surfaces.
If you are painting or working with materials like grout near the fixtures, consider covering them with painter’s tape or protective wrap. This added layer of protection will make cleaning easier and help ensure that your fixtures remain in good condition throughout the renovation process.
Handling Paint Splatter and Stains
Painting is a common task during bathroom renovations, but it can result in paint splatters on surfaces that weren’t intended to be painted. To prevent paint stains, it’s essential to protect floors, counters, and other surfaces with drop cloths or plastic sheets. If paint does manage to get onto unintended areas, clean it as soon as possible.
For fresh paint splatters, use a damp cloth or sponge to wipe it away. For dried paint, you may need to use a scraper or a gentle solvent to remove it, but be cautious to avoid damaging the surface underneath. Cleaning up paint splatter as soon as you notice it can save you a lot of time and effort in the long run.
Deep Cleaning Post-Renovation: Removing Leftover Dust and Debris
Once the renovation is complete, it’s time for a deep cleaning of the bathroom to remove any remaining dust, debris, and construction residue. Start by thoroughly vacuuming the floors, paying close attention to corners, crevices, and behind fixtures where dust may have settled. Use a damp mop or cloth to wipe down the floors to ensure that all dust is removed.
Wipe down all surfaces, including countertops, shelves, mirrors, and windowsills. For a thorough cleaning, use a mild detergent or an all-purpose cleaner that is safe for the materials in your bathroom. Don’t forget to clean the walls, especially if you’ve painted them, as dust can still cling to freshly painted surfaces. Finally, clean any remaining fixtures, such as faucets, showerheads, and lighting, to remove dust and fingerprints.
Post-renovation deep cleaning is crucial for removing leftover dust and debris from construction projects. This process involves thorough vacuuming, wiping down surfaces, and cleaning vents to ensure a spotless environment. Professional post-construction cleaning services excel in handling the complexities of post-renovation spaces, effectively addressing residual dust and ensuring all areas are pristine. By employing specialized tools and techniques, these services deliver a comprehensive clean, leaving your newly renovated space ready for immediate use and enjoyment.
Cleaning Bathroom Vents and Fans
During a renovation, dust and debris can easily accumulate in bathroom vents and exhaust fans. If these systems are not cleaned regularly, they can become clogged, reducing airflow and potentially circulating dust throughout the room. To clean bathroom vents, start by turning off the power to the vent and removing the cover. Use a vacuum to remove dust from the vent and fan blades. For deeper cleaning, a damp cloth can be used to wipe down the fan blades and surrounding areas.
In addition to the exhaust fan, remember to clean any heating or air conditioning vents in the bathroom. This will help ensure proper ventilation and prevent dust from being blown into the room once the renovation is complete.
Dealing with Mold and Mildew During Renovation
Renovation projects can sometimes expose hidden mold or mildew, especially if you’re working in a bathroom where moisture levels are naturally higher. If you come across mold during your renovation, it’s essential to address it immediately to prevent it from spreading. Start by cleaning the affected area with a mold-killing solution or a mixture of bleach and water. Be sure to wear protective gloves and a mask to avoid exposure to mold spores.
If the mold problem is extensive, you may need to call in a professional to handle the cleanup. Additionally, consider installing ventilation or dehumidifiers to keep moisture levels in check and prevent future mold growth.
Dealing with mold and mildew during renovation is crucial to ensure a healthy living environment. Before starting renovations, thoroughly inspect and address any moisture issues to prevent mold growth. During the renovation process, professional deep cleaning services can effectively remove mold and mildew from surfaces and air ducts, safeguarding your home from potential health risks and ensuring a clean, fresh start in your newly renovated space.
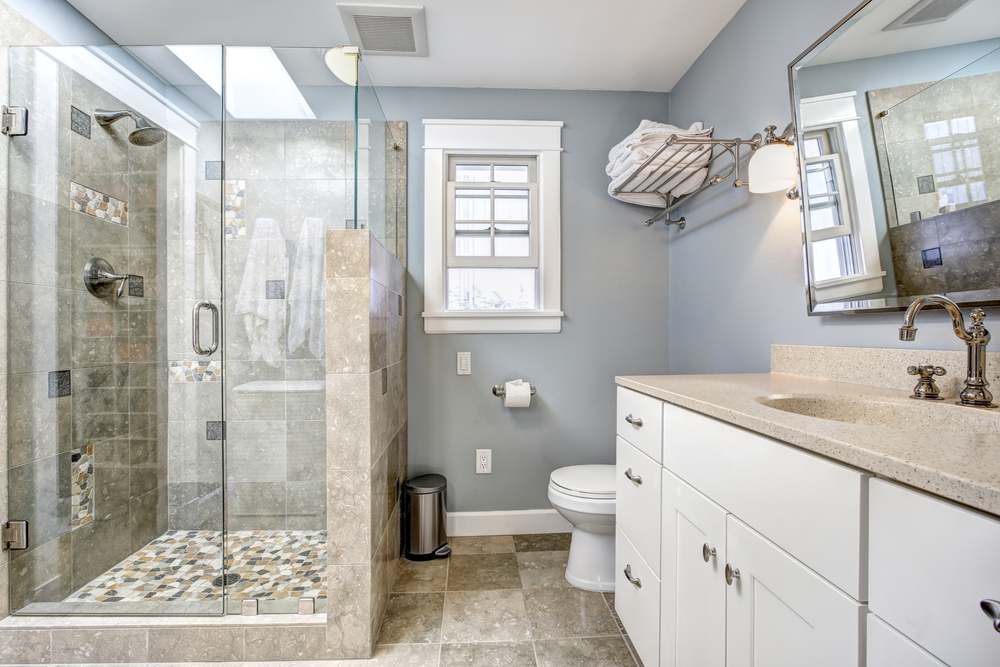
Final Touches: Polishing and Restoring Shine
After all the heavy lifting is done, it’s time to give your bathroom its final polish. Clean mirrors and glass surfaces with a glass cleaner to remove smudges and streaks. Use a soft cloth to polish fixtures like faucets, towel bars, and showerheads, restoring their shine.
Don’t forget to clean the grout lines between tiles. If the grout looks dirty or discolored, you can use a grout cleaner or a mixture of baking soda and water to scrub it clean. For a finishing touch, consider applying a grout sealer to protect the grout from future stains and moisture.
Ongoing Maintenance: Keeping Your Renovated Bathroom Clean
Once your bathroom renovation is complete, ongoing maintenance is key to preserving the cleanliness and new look of the space. Establish a regular cleaning routine that includes wiping down surfaces, cleaning the floors, and removing any moisture buildup that could lead to mold growth. Regularly check and clean vents and exhaust fans to maintain proper ventilation.
Additionally, keep cleaning supplies handy in the bathroom so that you can address spills, splatters, or dust as soon as they occur. By staying on top of maintenance, you’ll be able to enjoy your newly renovated bathroom for years to come.
FAQs
How do you clean a bathroom that is being renovated?
Have dry shampoo and shower gel on hand. Consider using a bowl of hot soapy water for bed baths, especially for young children who might not mind going without a bath for a short period. Some gyms offer 24–hour access, allowing you to shower whenever suits.
How to shower during bathroom renovation?
- Use your other bathroom.
- Attach a portable shower head to the laundry tap.
- Use an outdoor shower connected to the hose tap.
- Get a plumber to set up a temporary shower.
- Hire a motorhome with a shower and park it outside.
How to use a bathroom during renovation?
If you only have one bathroom in your home, and still want to renovate the space, a portable toilet can be placed in your driveway for the duration of the project. It is also a good idea to ask a close friend or family that lives close by, if you will be able to use their shower while your bathroom is being renovated.
Can you move a toilet during renovation?
While moving your toilet to a different location in your bathroom is entirely possible, there are several important considerations before making this change. Cost is one thing, but another important consideration should be the ending layout of the bathroom.
How do you clean a bathroom that is being renovated?
Have dry shampoo and shower gel on hand. Consider using a bowl of hot soapy water for bed baths, especially for young children who might not mind going without a bath for a short period. Some gyms offer 24–hour access, allowing you to shower whenever suits.
Conclusion
Cleaning a bathroom during a renovation may seem like a daunting task, but with the right strategies, it’s entirely manageable. By staying organized, addressing dust and debris regularly, and protecting your fixtures, you can maintain a clean and functional bathroom throughout the renovation process. Once the renovation is complete, deep cleaning and ongoing maintenance will ensure that your bathroom stays in pristine condition, allowing you to fully enjoy the results of your hard work.